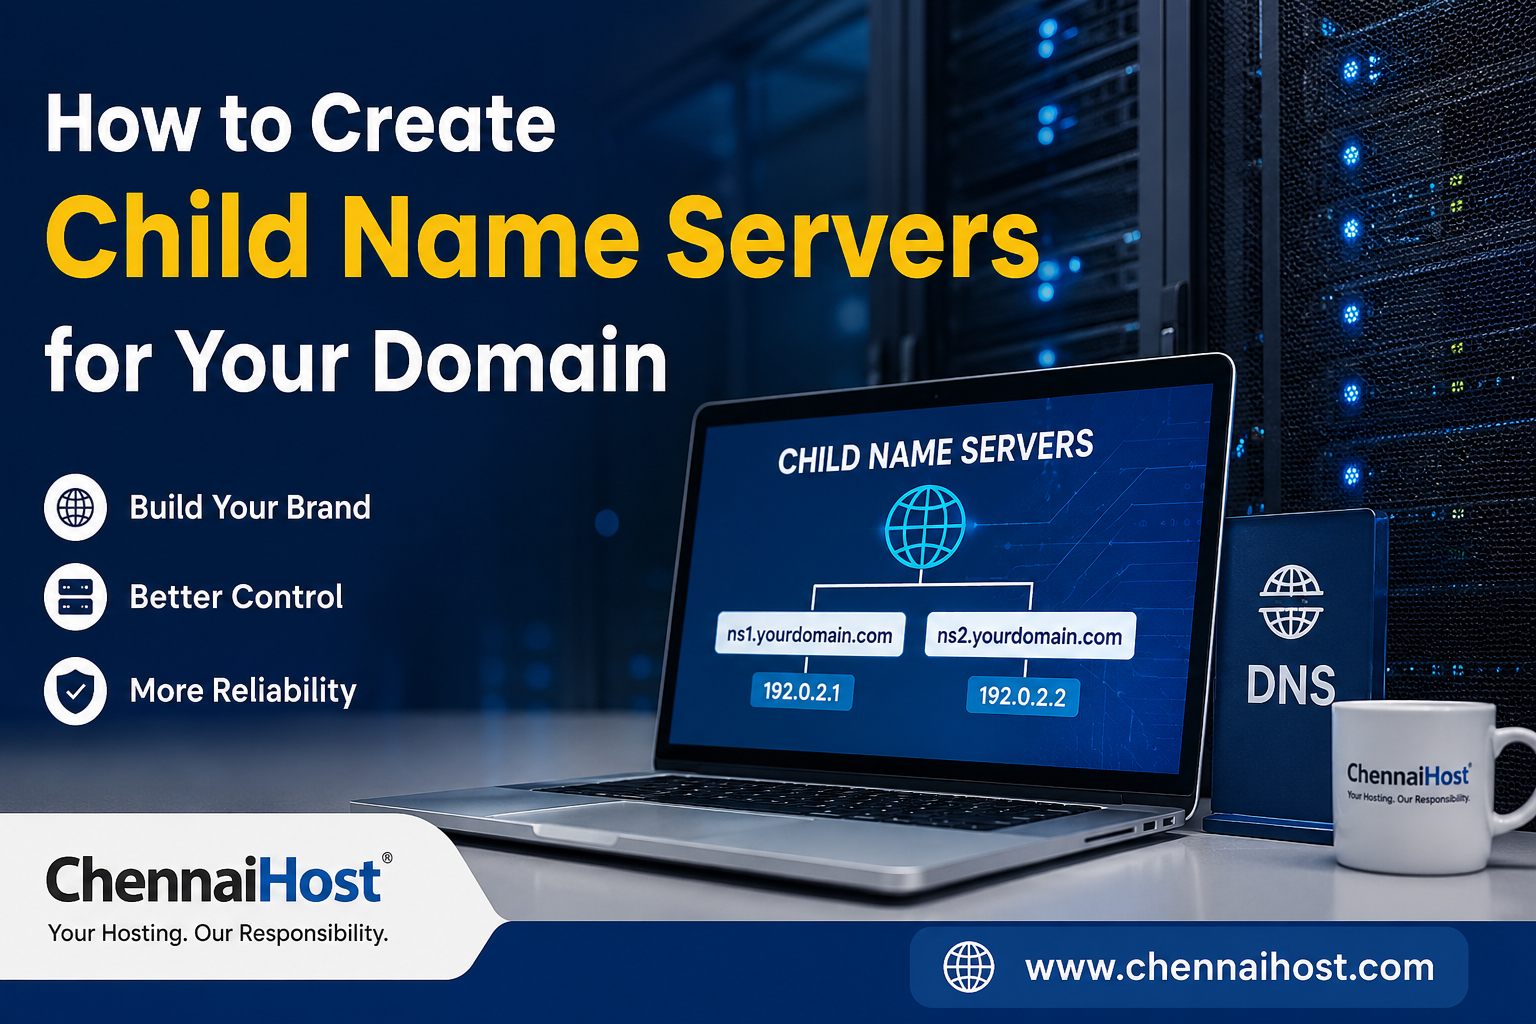
When starting a web hosting business or managing multiple servers, creating your own child name servers can help strengthen your brand identity and provide greater control over DNS management. Instead of using generic hosting provider name servers, you can use branded name servers such as ns1.yourdomain.com and ns2.yourdomain.com.
In this guide, we’ll explain what child name servers are, why they’re important, and how to create them for your domain.
What Are Child Name Servers?
Child name servers, also known as private name servers, are DNS records that use your own domain name as the authoritative name server for domains hosted on your server.
For example:
- ns1.yourdomain.com → 192.168.1.10
- ns2.yourdomain.com → 192.168.1.11
These name servers are registered with your domain registrar and point directly to your server’s IP addresses.
Why Use Child Name Servers?
1. Build Your Brand
Using branded name servers gives your hosting business a professional appearance. Clients see your company name instead of a third-party hosting provider.
2. Better Control
You can manage DNS configurations independently without relying on external name servers.
3. Reseller Hosting Benefits
If you offer reseller hosting services, private name servers help establish trust and reinforce your brand identity.
4. Easier Server Migration
When moving websites between servers, you can update the IP addresses of your child name servers without requiring customers to change their domain settings.
Requirements Before Creating Child Name Servers
Before you begin, make sure you have:
- A registered domain name
- A VPS, Cloud Server, or Dedicated Server
- At least one public IP address
- DNS management access
- Registrar access to your domain
Step 1: Create DNS Records
Log in to your DNS management panel and create A records.
Example:
| Host | Type | Points To |
|---|---|---|
| ns1 | A | 203.0.113.10 |
| ns2 | A | 203.0.113.11 |
If you have only one IP address, both child name servers can point to the same IP, although using separate IPs is recommended for redundancy.
Step 2: Register Child Name Servers
Next, log in to your domain registrar’s control panel.
Look for options such as:
- Register Name Server
- Child Name Server
- Host Records
- Glue Records
Create:
- ns1.yourdomain.com → 203.0.113.10
- ns2.yourdomain.com → 203.0.113.11
Save the configuration.
Step 3: Update Your Domain’s Name Servers
After registering the child name servers, update your domain to use:
- ns1.yourdomain.com
- ns2.yourdomain.com
This tells the internet to use your own DNS infrastructure.
Step 4: Configure DNS Service on Your Server
Depending on your control panel:
cPanel/WHM
- Log in to WHM.
- Navigate to Basic WebHost Manager Setup.
- Enter your private name servers.
- Assign the corresponding IP addresses.
- Save the settings.
CloudPanel
Configure your DNS server and ensure the name server hostnames resolve correctly to your server IPs.
DirectAdmin
Update the Name Server configuration under Administrator Settings.
Understanding Glue Records
Many domain registrars refer to child name server registration as creating “Glue Records.”
Glue records are necessary because the name servers belong to the same domain they manage.
Without glue records, DNS resolvers would not know where to find your name servers, resulting in a circular dependency.
DNS Propagation Time
After creating child name servers, DNS propagation may take anywhere from a few minutes to 24-48 hours depending on registrar and DNS cache settings.
You can verify propagation using online DNS lookup tools.
Common Issues and Solutions
Child Name Server Not Resolving
Verify that:
- A records exist for ns1 and ns2.
- Child name servers are registered correctly.
- DNS service is running on the server.
Incorrect IP Address
Double-check that the registered IP addresses match the server configuration.
Propagation Delays
Wait for global DNS propagation to complete before troubleshooting further.
Best Practices
- Use separate IP addresses for ns1 and ns2 whenever possible.
- Keep DNS software updated.
- Monitor DNS availability regularly.
- Configure secondary DNS for improved reliability.
- Use DNSSEC when supported.
Conclusion
Creating child name servers is an essential step for web hosting providers, reseller hosting businesses, and organizations that want complete control over their DNS infrastructure. Branded name servers improve professionalism, strengthen brand recognition, and simplify future server migrations.
Whether you’re launching a hosting business or managing multiple websites, setting up private name servers can provide greater flexibility and a better experience for your customers.
At ChennaiHost, we offer domain registration, VPS hosting, cloud hosting, reseller hosting, and managed server solutions to help businesses build a reliable online presence. Our team can assist you with DNS configuration, child name server setup, and server management to ensure your websites remain accessible and secure.